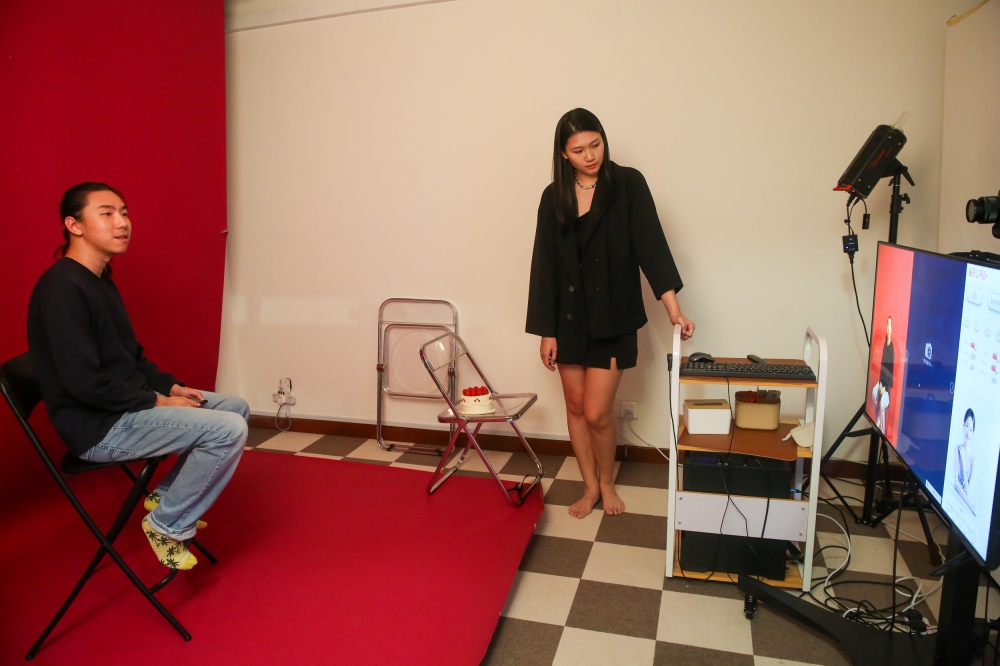
PETALING JAYA, July 28 — In a room with a professional camera and lighting, people choose costumes, props and accessories, then snap quality shots of themselves without the help of a skilled photographer.
Enter the AI selfie studio, a new emerging trend amongst the current generation of “selfie-takers”.
But how does one make use of an AI selfie studio and how different is it to conventional photography?
Here is a how-to guide on how to prepare oneself for a selfie studio photoshoot courtesy of Fiu Studio, an AI selfie studio located in SS2, Petaling Jaya.
1. Choose a theme and a studio package
Before all else, decide upon a theme and background for your photoshoot. Examples include birthday to bridal shoot or even just good old cosplay fun.
Then, decide the duration of your photoshoot, which can range from a minimum 30 minutes to three hours depending on the number of people at varying prices that could cost between RM188 to RM1,088.
Also to be decided is whether to include add-ons such as makeup and hairstyling provided by the studio or even props like present boxes, flowers or even a fake cake for your selected theme.
Discuss with the respective AI selfie studio on your photoshoot request since walk-ins will not be entertained and each session is strictly by appointment only.
2. Familiarise yourself with the tools
Now that you have placed a booking with the respective AI selfie studio, it is time to familiarise yourself before the shots are taken.

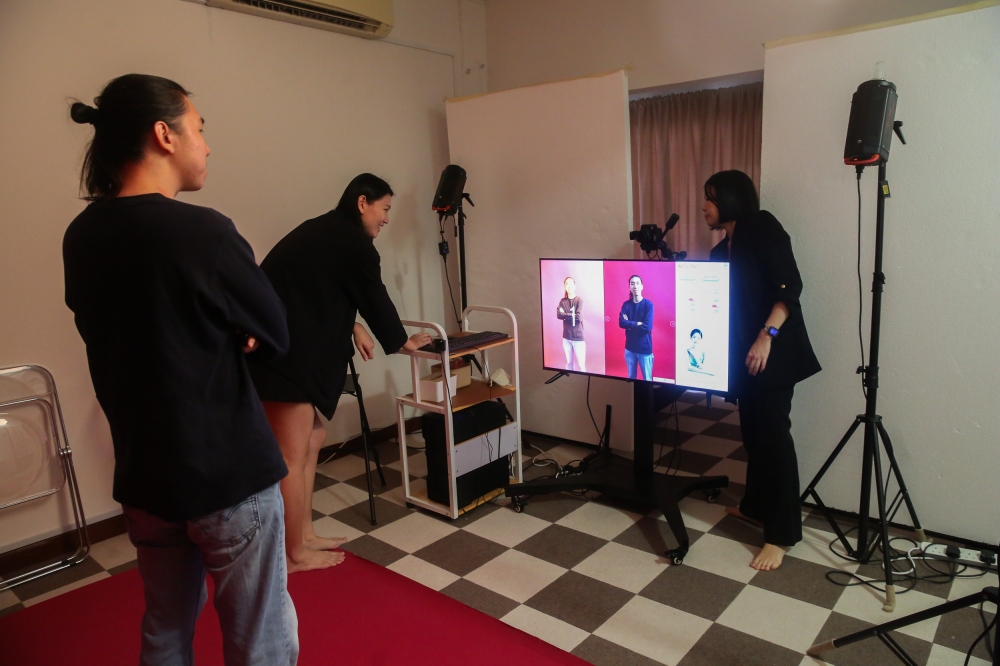
Remember, there are only three (or four) important tools in an AI selfie studio photoshoot — a digital camera, a display monitor, studio lights and the AI software itself.
Photos are taken with the help of a remote control under the absence of a photographer (similar to vintage photobooths).
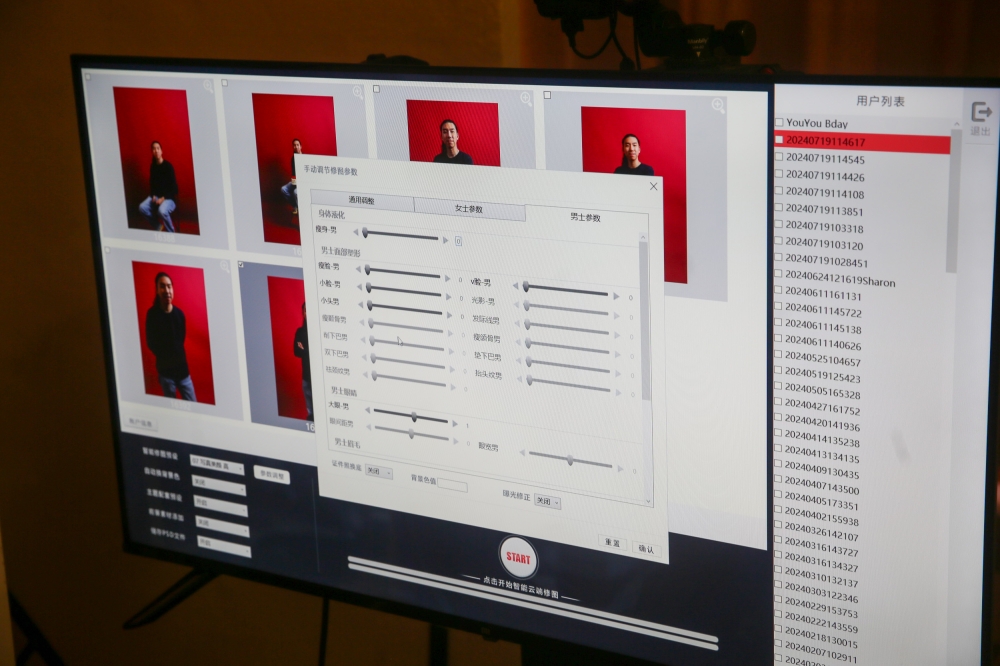
Take note! The software’s interface is fully in Chinese since it is Chinese-developed, fret not however as there are staff present to provide needed guidance.
Also keep in mind the camera is front-facing and affixed to the monitor — meaning the lens faces the user and is non-adjustable.
When you are ready, pose to your heart’s content for the camera (with the allotted time frame in mind) and start clicking!

3. Look here!
Admire the photo taken on the monitor in front of you.

Keep in mind the display monitor is divided into three screens — the live preview screen, the photo screen and the software interface screen.
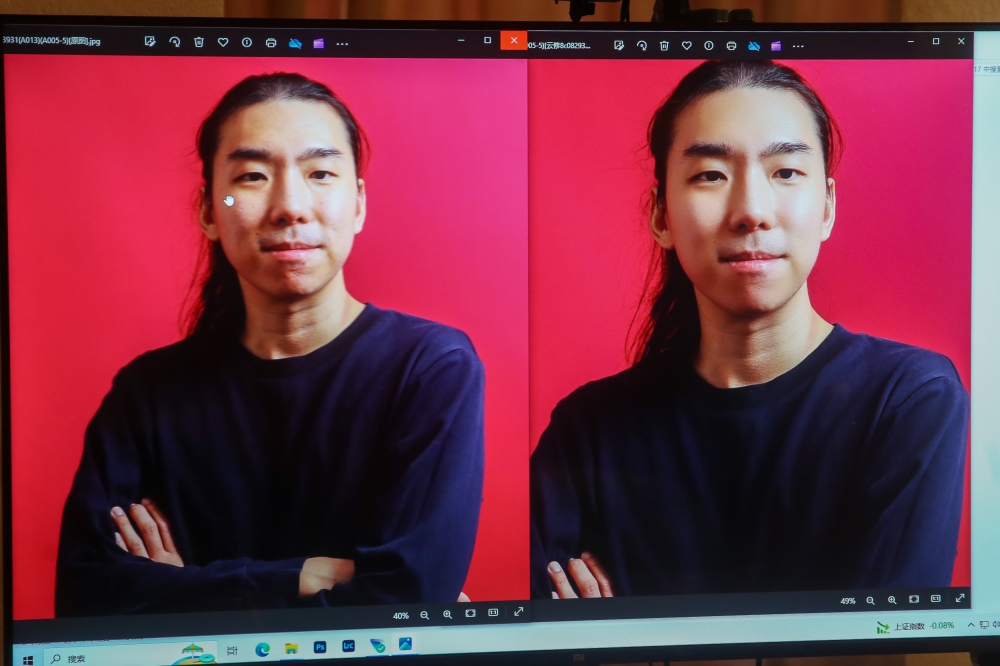
Unsatisfied how it turns out? Bad lighting? Edit and adjust all the ‘flaws’ using the AI beautification software with the help of just a mouse click.
Any edits performed using the AI beautification software will be instantly reflected in the photo screen for ease of before-after comparison.

4. Post them on social media (or not)
With the photo shooting session ending, it is time to wrap things up.
Depending on the agreed upon package, you will receive a stipulated number of edited photos (either done by yourself or the studio) in softcopies. Some studios also return all unedited photos as well.
And that is all there is, you are practically a pro now!
Recommended reading:
- Snap, adjust and shine: How AI is revolutionising selfie studios in the Klang Valley


